Introduction to NGS Data

Course Homepage
Sept 2018
This project is maintained by BIG-SA
Instructions for Computer Setup
For the Introduction to Bash workshops we connected to our VM directly using ssh via our own terminal.
Unfortunately, some of the tools we’ll come across today have a GUI interface, so we’ll use the desktop on Virtual Machine (VM).
We’ve already placed all the data and installed all the tools on your VM.
Connecting to the VM
To connect to your VM, we’ll use the X2Go Client Software. If you don’t already have this installed, please do so. Once this is installed:
- Open the X2Go Software
- Enter “Introduction to NGS Data” or something similar in the Session name field at the top
- Enter your assigned IP address in the Host field
- Enter
traineeas the Login - Under Session Type, use the drop-down menu to select
XFCE - Enter
OK
This will not log you in, but will have setup the “session” and provided a login link in the top-right of the X2Go program window.
Once you’ve figure out what we mean, click this link and you will be taken to a login which requires you to enter your password.
Enter the password trainee and you should be connected to your VM.
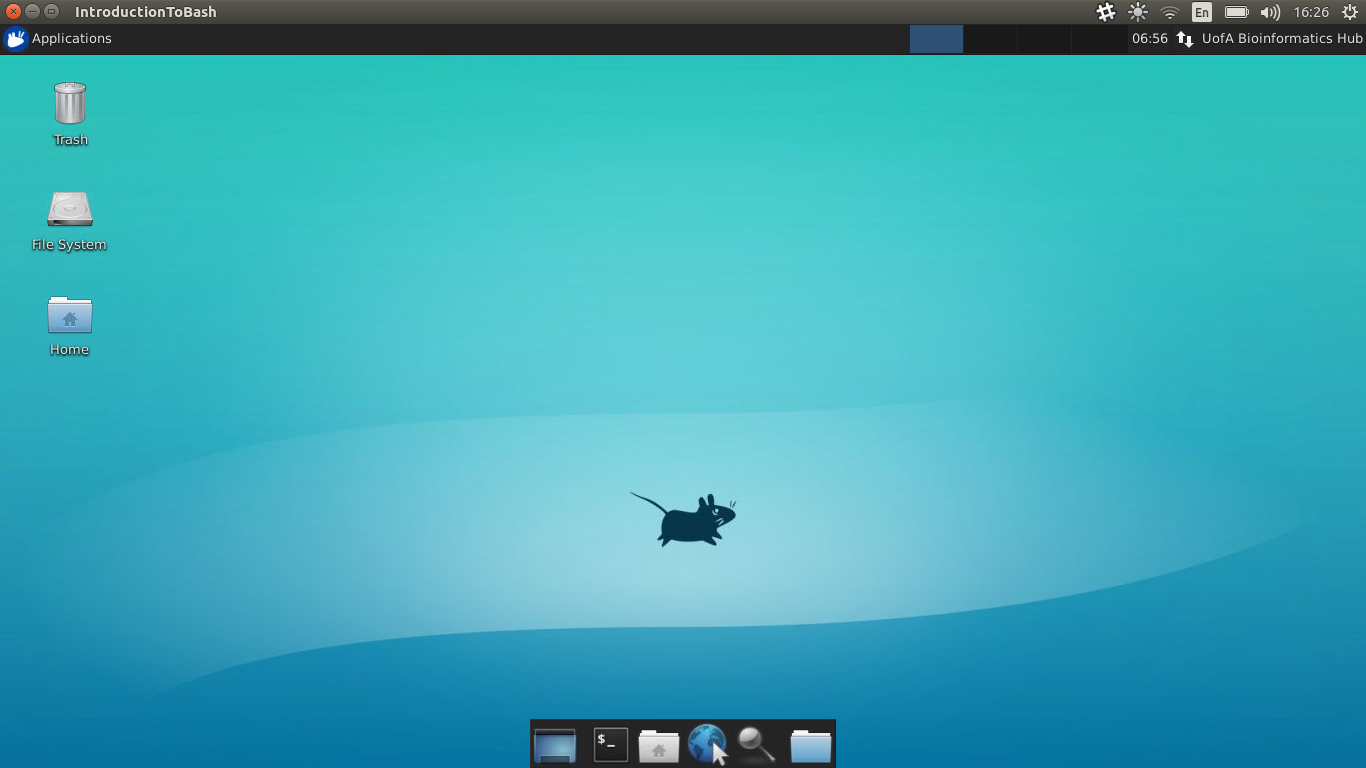
At this point, you should have a desktop visible on the VM which look something like this:

From here, you will be able to complete all of today’s material.
If you’re a bit ambitious and would like to use your own terminal connected to the VM, you should be able to ssh in using the same login information as above.
If you don’t know what we mean, then just carry on using X2Go.
Installing Software Locally
NB: For the confident people only
This is only possible if you’re running a Mac or Linux system. However, these installation instructions are written for Mac, and have not been tested. If you’re running a Linux OS, change the first line to download the correct installation script (i.e. https://repo.continuum.io/miniconda/Miniconda3-3.7.0-Linux-x86_64.sh). Everything else should be exactly the same.
First you’ll need to minconda (taken from https://conda.io/docs/user-guide/install/macos.html)
wget https://repo.continuum.io/miniconda/Miniconda3-latest-MacOSX-x86_64.sh -O ~/miniconda.sh
bash ~/miniconda.sh -p $HOME/miniconda
Now we’ll remove any installation channels that we don’t need, and add the ones that we do
conda config --remove channels r
conda config --add channels defaults
conda config --add channels conda-forge
conda config --add channels bioconda
Finally, we’ll just install the packages that we need. Note that this may take a while.
conda install --yes bwa sambamba samtools igv bedtools fastqc picard freebayes cutadapt bcftools
cd ~/Downloads
git clone https://github.com/najoshi/sabre.git
cd sabre
make
mv sabre ~/miniconda/bin
cd ~
Now we’ll need to setup the data and directories on your local machine. Firstly we’ll get the WGS data:
mkdir -p ~/WGS/01_rawData/fastq
cd ~/WGS/01_rawData/fastq
wget -c https://universityofadelaide.box.com/shared/static/23r1szeg3z3wtzcs1my2szw63w8zv7ip.gz -O subData.tar.gz
tar xzvf subData.tar.gz
rm subData.tar.gz
mv chr* ~/WGS
Now we’ll get the multiplexed data for that section:
cd ~
mkdir -p ~/multiplexed/01_rawData/fastq
cd ~/multiplexed/01_rawData/fastq
wget -c https://universityofadelaide.box.com/shared/static/sdgu5v4m0i63mfybkl3x81dmgwyaikr2.gz -O multiplexed.tar.gz
tar xzvf multiplexed.tar.gz
rm multiplexed.tar.gz
mv barcodes_R1.txt ~/multiplexed
Now you should be good to go! (Fingers crossed…)